

本文记录配置ESP32的Matter开发环境。搜索打开ESPRESSIF文档,第一章是关于Matter的一些介绍。 切换到2.Developing with theSDK可以查看如何针对ESP设备安装SDK并进行配置。
在设备上配置开发环境、获取Git仓库以及构建和烧写的介绍。
支持的操作系统
Ubuntu 20.04 or 22.04 LTS
macOS 10.15 or later
Windows需要使用WSL
使用ESP-IDF和Matter的前提条件:
获取仓库
在获取仓库之前确认前提条件都已经满足。 使用如下命令克隆:
git clone --recursive https://github.com/espressif/esp-idf.git
cd esp-idf; git checkout 6b1f40b9bf; git submodule update --init --recursive;
./install.sh
cd ..
克隆esp-matter仓库会因为上游 connectedhomeip中包含许多子模块而花费较多时间。可以使用以下命令浅克隆:
Linux机器
cd esp-idf
source ./export.sh
cd ..

git clone --depth 1 https://github.com/espressif/esp-matter.git
cd esp-matter
git submodule update --init --depth 1
cd ./connectedhomeip/connectedhomeip
./scripts/checkout_submodules.py --platform esp32 linux --shallow
cd ../..
./install.sh
cd ..
macOS机器
cd esp-idf
source ./export.sh
cd ..

git clone --depth 1 https://github.com/espressif/esp-matter.git
cd esp-matter
git submodule update --init --depth 1
cd ./connectedhomeip/connectedhomeip
./scripts/checkout_submodules.py --platform esp32 darwin --shallow
cd ../..
./install.sh
cd ..注意:Host工具构建需要对于平台的模块linux或darwin。
使用如下命令克隆esp-matter仓库和其所有子模块:
cd esp-idf
source ./export.sh
cd ..

git clone --recursive https://github.com/espressif/esp-matter.git
cd esp-matter
./install.sh
cd ..
图:获取仓库
安装完成之后可以看到提示运行脚本。
执行此如果发现类似以下的错误,可能是网络连接问题,绝大多数情况下科学的上网环境可以解决这个问题。
dial tcp 108.160.167.174:443: connect: connection refusedConnectionResetError: [Errno 104] Connection reset by peer配置环境
每次打开一个新的终端,都应该执行命令:
cd esp-idf; source ./export.sh; cd ..
cd esp-matter; source ./export.sh; cd ..
为IDF构建启用Ccache
Ccache是编辑器缓存。Matter构建通常非常慢,需要花费很多时间Ccache缓存之前的编译并加速重编译和后续的编译。
export IDF_CCACHE_ENABLE=1
也可以将以上的内容添加到你自己shell的配置文件中 (.profile, .bashrc, .zprofile 等)来让每一次开启新的终端都启用Ccache。之后按照文档提示启动相关脚本。
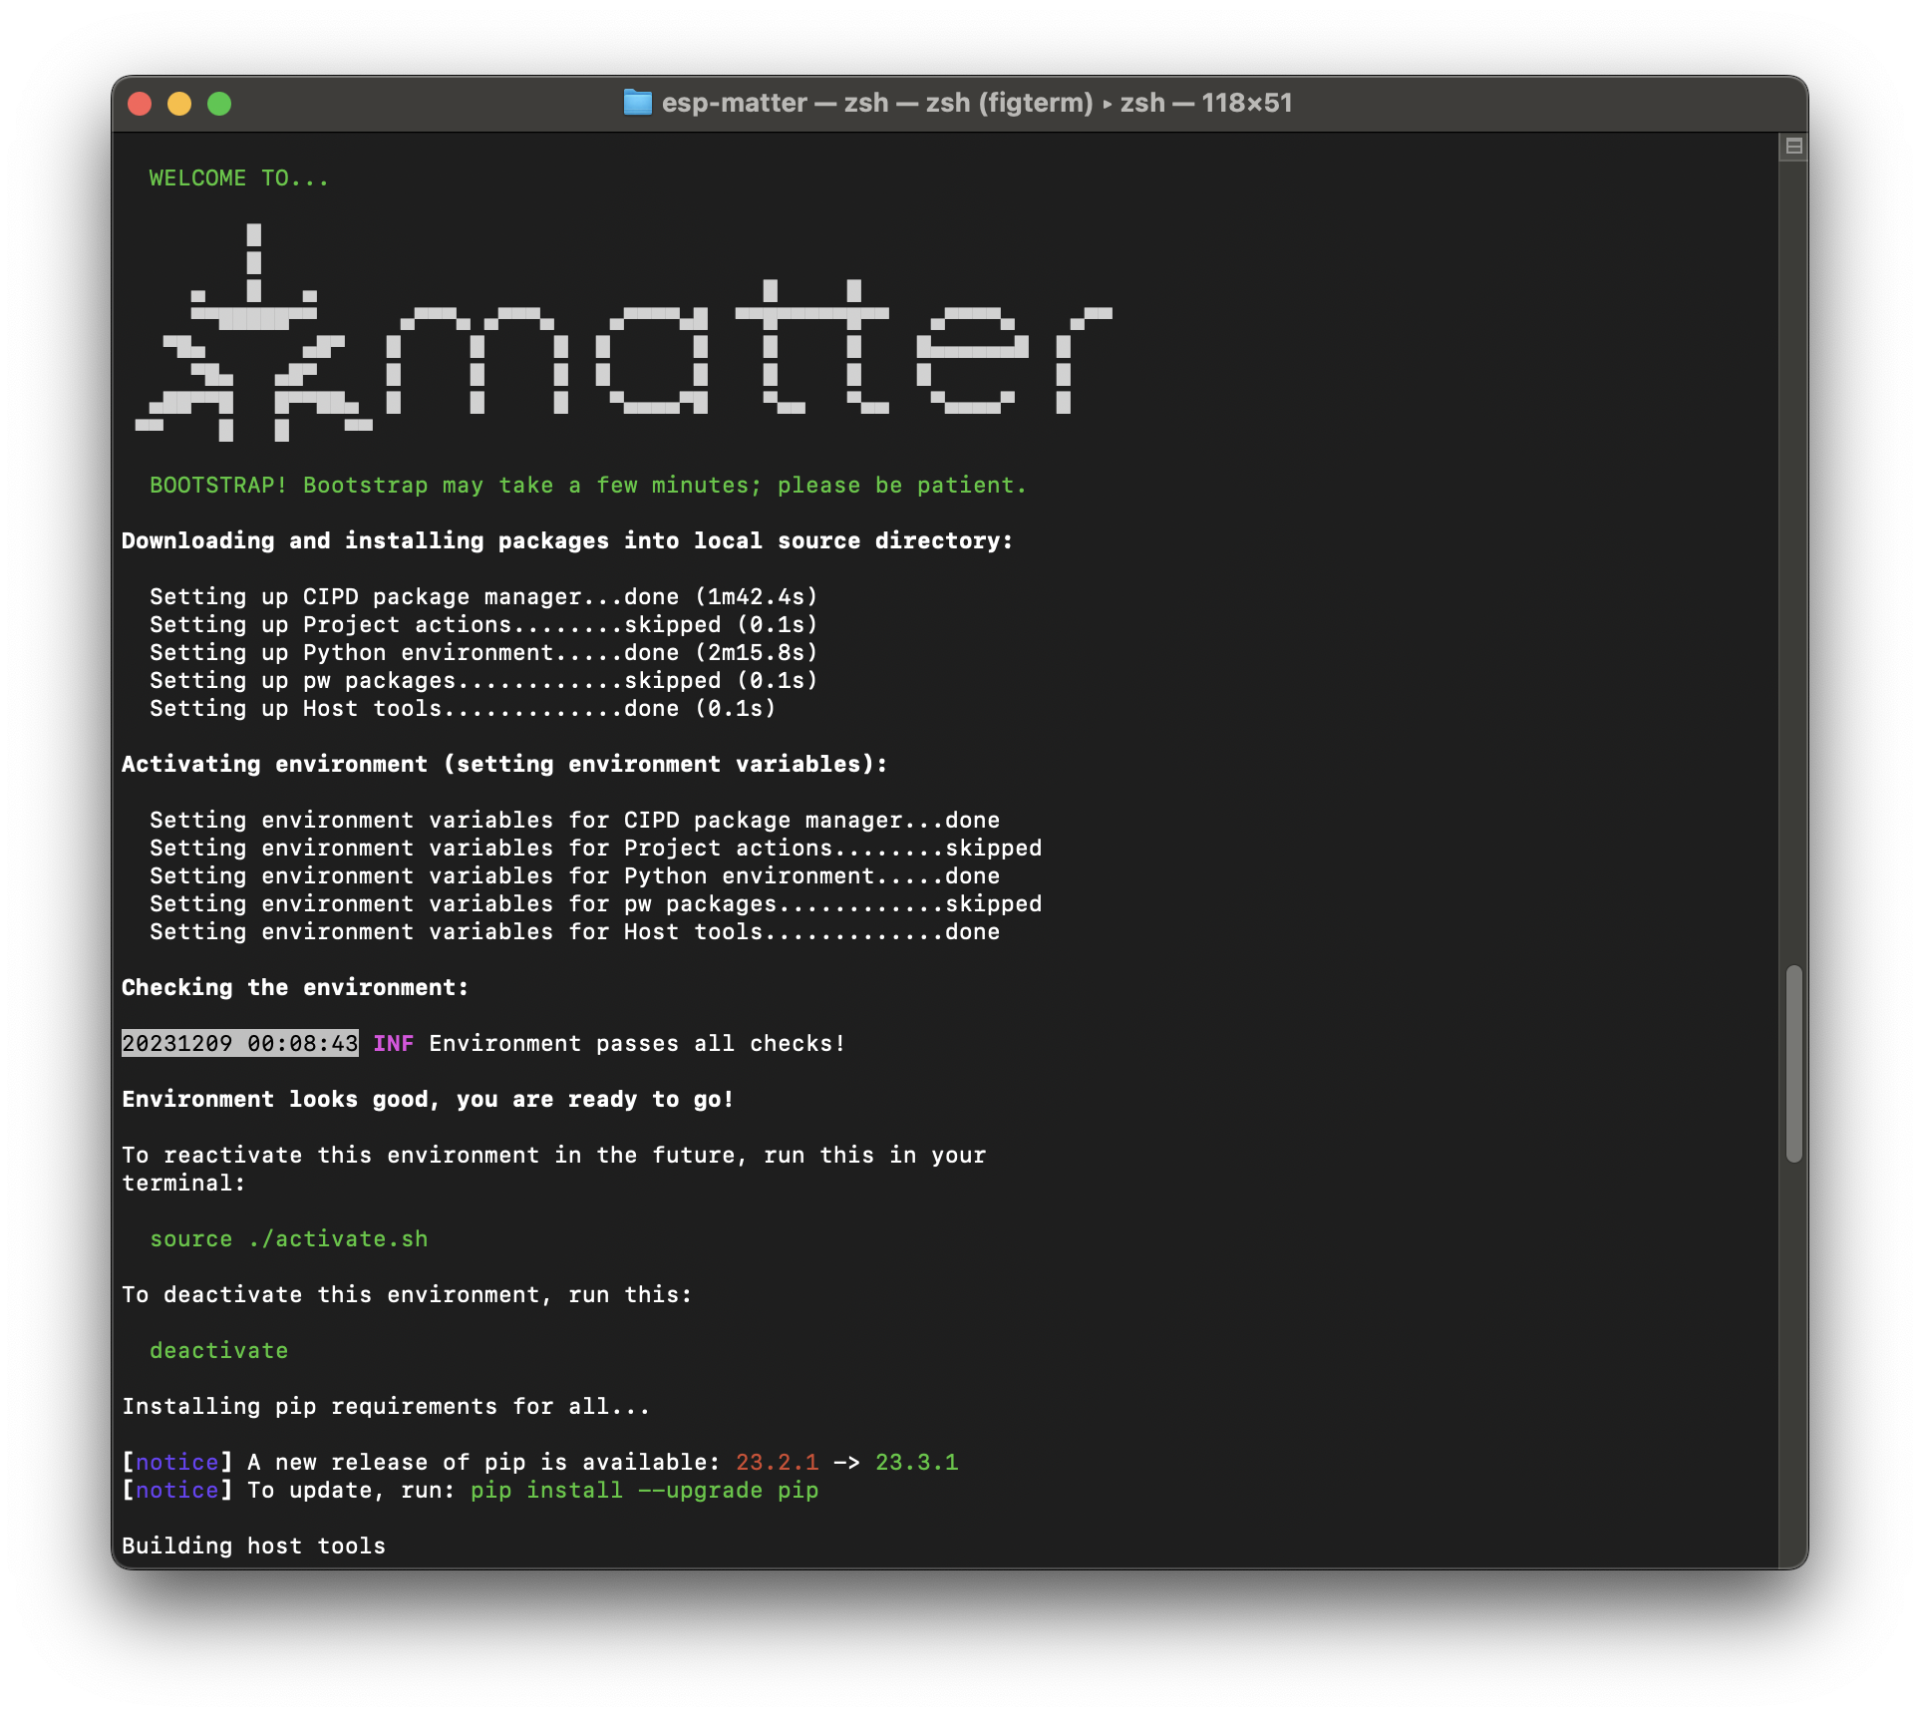
大大的Matter Logo在终端显示出来!太激动啦!
到这里,基于ESP32的Matter开发环境就搭建完成了。可以参考其它文章继续进行Matter的开发。
安装驱动
本博客中大部分 Matter 相关的实践都使用 合宙LuatOS 的 ESP32C3 开发板进行,此开发板配有 CH343 USB 转串口芯片。访问开发板介绍页面可以看到对应驱动程序的下载地址。
下载地址打开的默认是 Windows 驱动安装程序,因为我使用 macOS,所以继续在网站上查找最后下载 CH34XSER_MAC 这个驱动程序包。
下载后按照安装软件的常规程序完成安装。然后在 macOS 系统设置 -> 通用 -> 登录与扩展项 -> 扩展 -> 驱动程序扩展(cn.wch.CH34xVCPDriver)启用已安装的驱动程序。
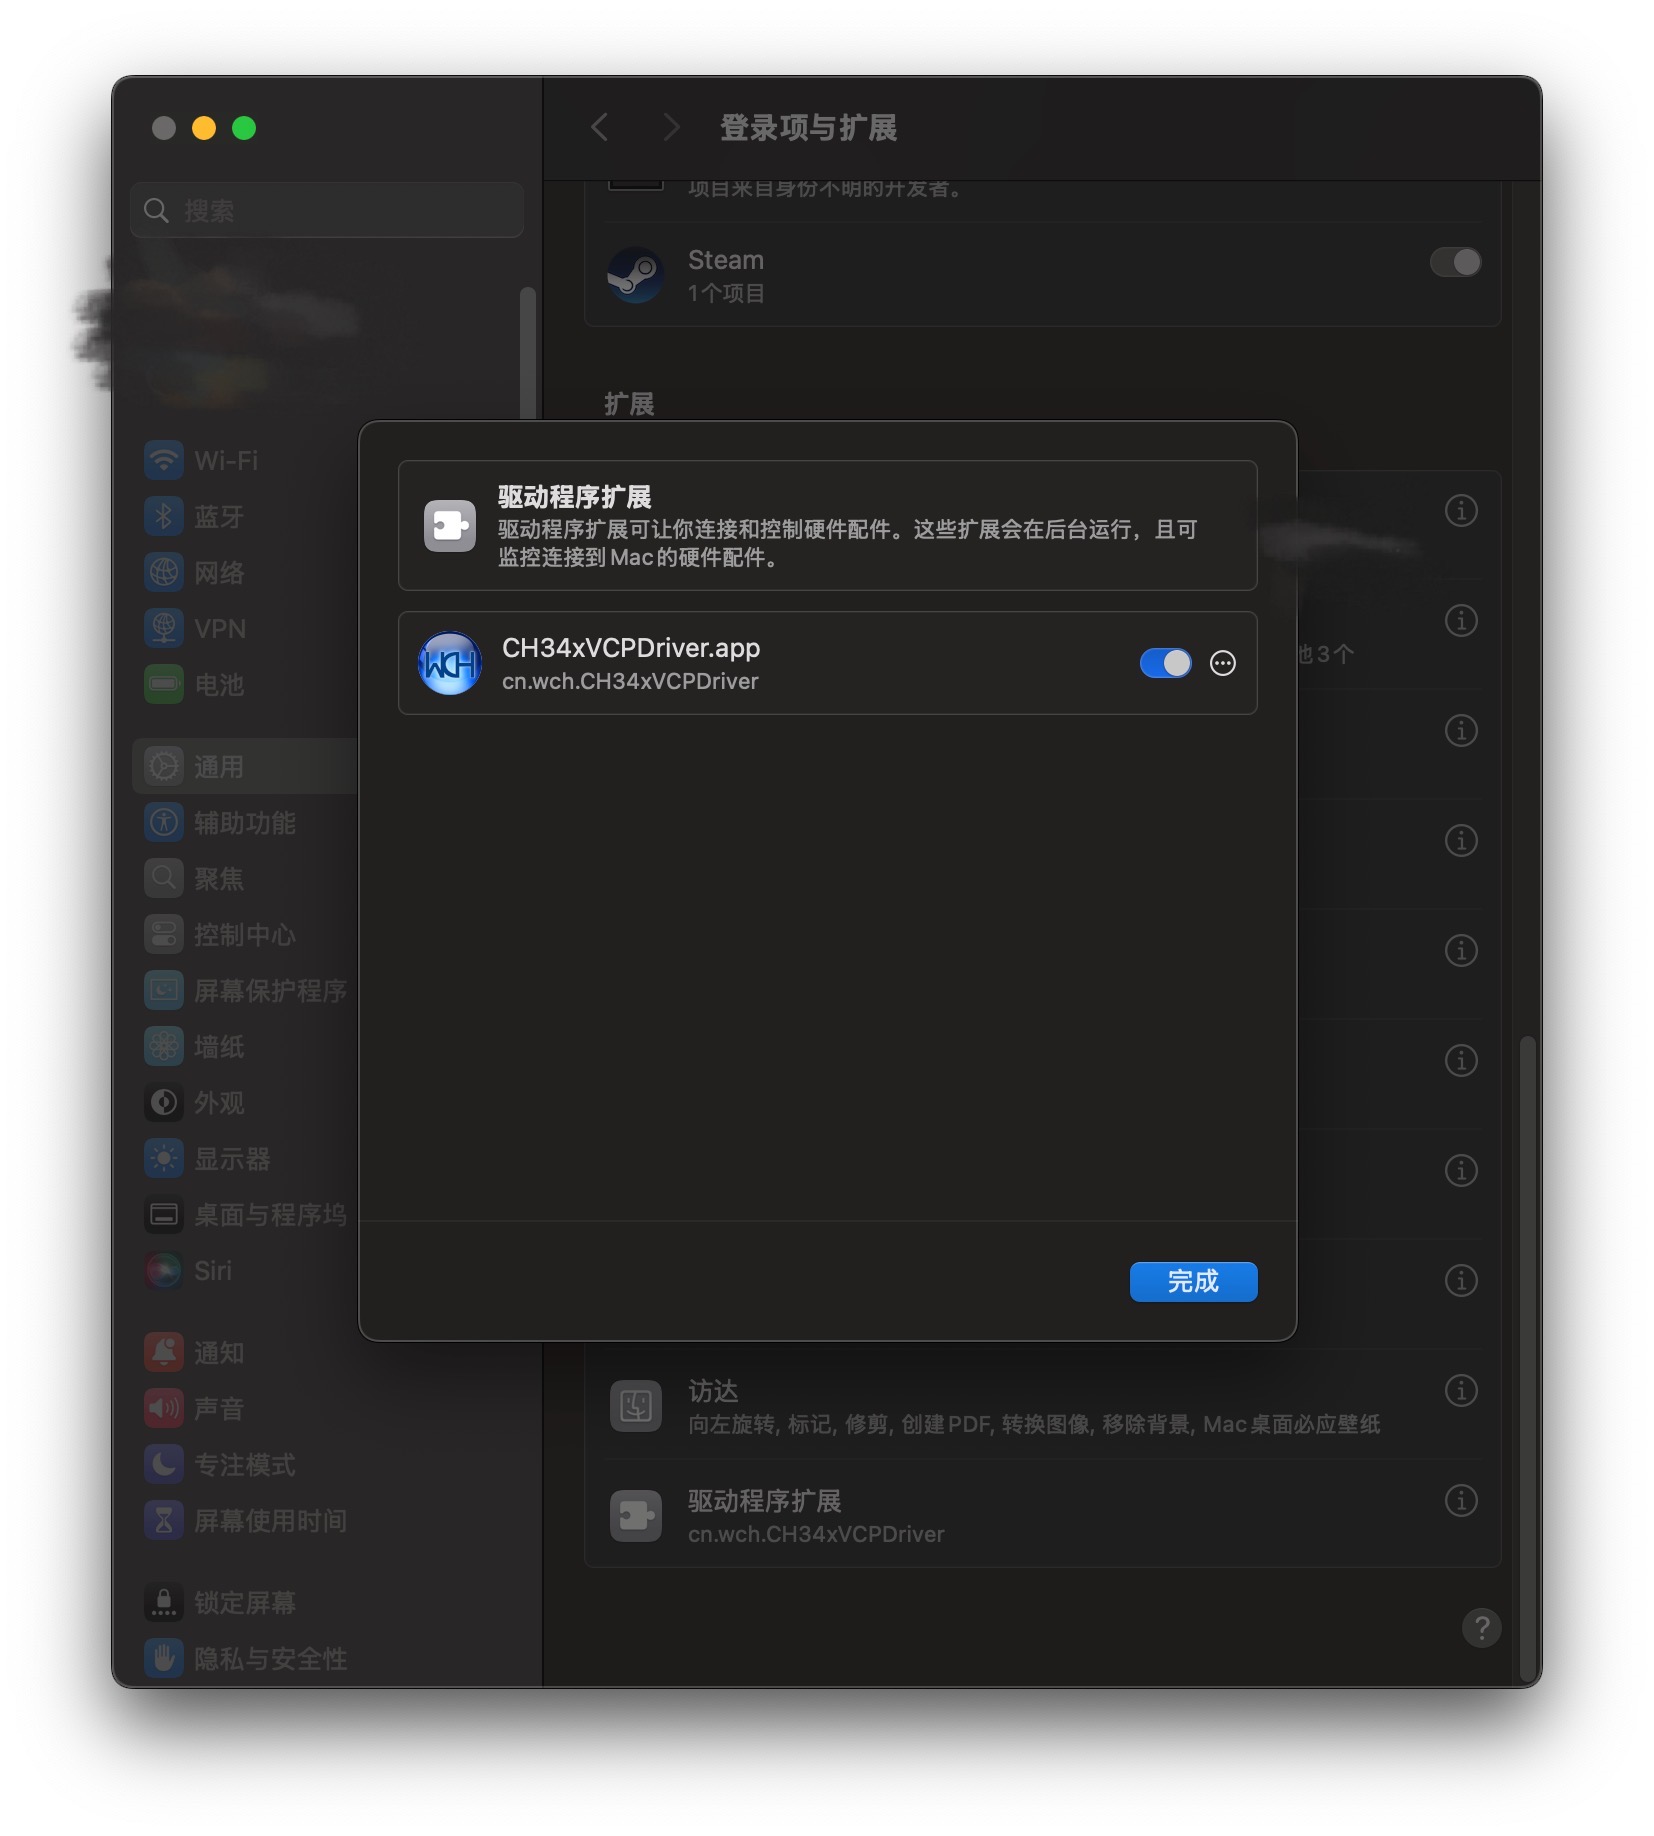
启用后 CH34xVCPDriver.app 会提示成功。如下图所示:
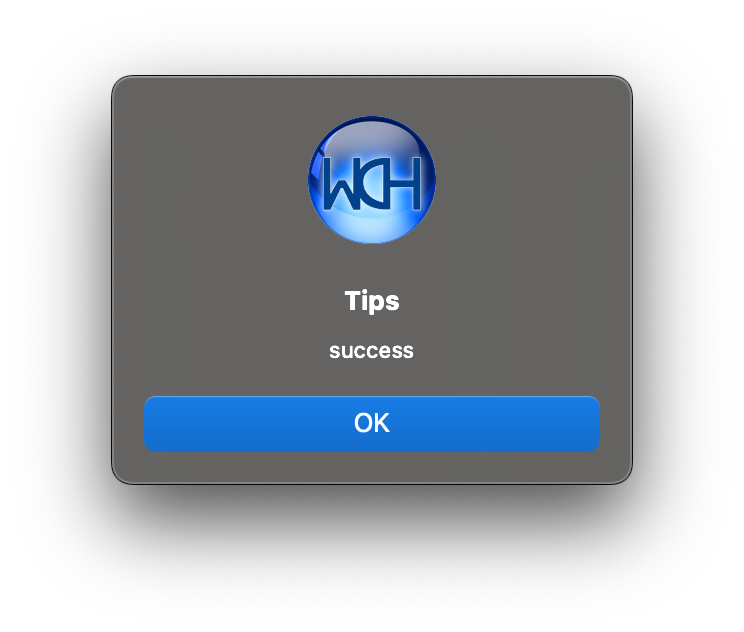
这样驱动就安装成功了。后续可以将编写好的固件通过USB转串口的方式烧写到开发板上。